
How to Make Flower Sprinkles at Home: A Fun and Easy DIY Guide
Transform your baking game with our easy DIY guide on making flower sprinkles at home! Learn how to create stunning edible flower confetti using simple ingredients and step-by-step instructions that show you how to prep, dry, and crumble your favorite edible flowers. Whether you're decorating cupcakes, cakes, or ice cream, these vibrant sprinkles add a touch of natural beauty and a burst of flavor to any treat. Perfect for novice bakers and creative pros alike, our guide also delves into the benefits of baking with edible flowers and offers tips on sourcing and storing your homemade sprinkles. Get ready to sprinkle a little magic over your desserts and bring a garden-fresh twist to every recipe!
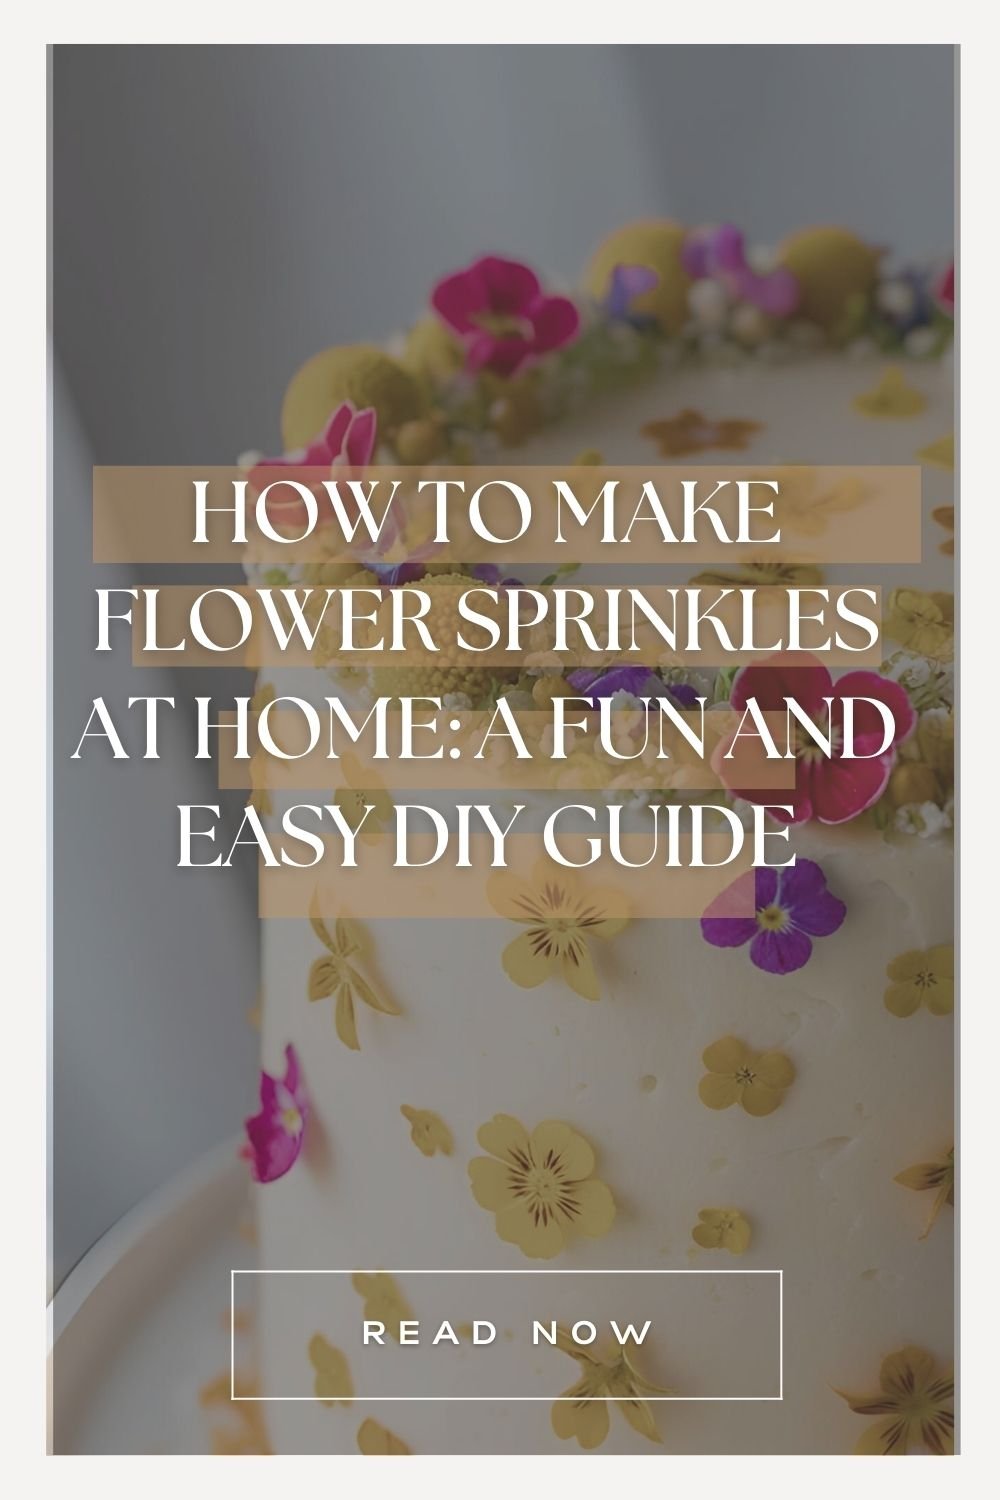
Hey there! Just a quick heads-up: some links in this post are affiliate links, which means I earn a small commission if you make a purchase through them—at no extra cost to you. I only share products and services that I truly love and trust. Your support helps me keep sharing fun DIY projects and creative recipes. Thanks so much for being awesome!Like every Netflix-loving gal, I fell head over heels for Duchess Meghan of Sussex the moment she introduced her flower sprinkles. I was beyond excited to snag something from her AsEver launch—until it sold out in under an hour, leaving me heartbroken. But rather than wait around for the restock, I decided to roll up my sleeves and make my own. And guess what? I’m here to show you how to do it, too! #notallqueenswearcrownsbutwedohavesprinkles.
I’m all about making life a little sweeter—and nothing says “sweet” like adding a burst of color and flavor to your favorite desserts. That’s where flower sprinkles come in. These dainty little accents, also known as edible flower confetti, not only look whimsical but also invite that fresh, natural vibe into your baking. And the best part? You don’t have to be a professional pastry chef to make them. In fact, in this post, I’m going to walk you through exactly how to make flower sprinkles at home—no fancy equipment required.
By the way, if you’re anything like me, you’ll love how these tiny pops of color can elevate your goodies. It’s the perfect weekend project to do solo (think: self-care in the kitchen), or with your family and friends. Ready to get started? Let’s dive in.
Why Make Your Own Flower Sprinkles?
I’m all about adding personal flair to the things I create, which is why I adore DIY flower sprinkles. When you choose to make them yourself, you’re in control of the colors, flavors, and quantity. Plus, you can pick the exact edible flowers that speak to your heart—or that perfectly match your next celebration.
Beyond the fun factor, homemade sprinkles let you experiment in ways store-bought options just can’t match. You can color-coordinate them with birthday party themes, match them to wedding décor, or simply whip them up for a random Tuesday pick-me-up. After all, who says a sprinkle of pretty blooms can’t brighten an ordinary day?

Gathering Your Supplies
Let’s start with the basics. Here’s what you’ll need for this baking with edible flowers adventure:
Edible Flowers: The star of the show. Some top picks include pansies, violets, marigolds, roses, and nasturtiums. Just be sure they’re truly edible and haven’t been sprayed with any chemicals.
Granulated or Powdered Sugar (Optional): If you want to add a sweet, sparkly coating to your petals.
Water or Egg White (Optional): A tiny brush of moisture helps sugar stick to the flower petals.
Baking Tray + Parchment Paper: Perfect for laying out the petals to dry.
Oven or Dehydrator: For gently drying the petals. If you prefer a super low-key approach, you can also air-dry them at room temperature, though it takes longer — click to see my favorite dehydrator!

Step-by-Step: How to Make Flower Sprinkles at Home
1. Prep Your Petals
Give your edible flowers a good rinse under cold water to remove any dirt or lingering critters, then pat them dry. Remove stems, pistils, and stamens if you prefer to work with just the petals. This can be a relaxing process—think of it as a mini mindfulness session in your kitchen!
2. Optional Sweet Coating
If you’re aiming for a cute, sugar-crusted look, brush each petal lightly with water or egg white. Sprinkle a pinch of granulated or powdered sugar over the petals. This step creates a more pronounced “sprinkle” vibe once dried, adding both crunch and sweetness.
3. Dry ‘Em Out
Now, choose your drying method:
Air Dry: Spread petals on parchment paper in a single layer, leaving them in a cool, dry spot for two to three days.
Oven Dry: Set your oven to the lowest temperature (around 175–200°F). Line a baking tray with parchment paper, place your petals on top, and pop them in for 10–15 minutes, checking frequently so they don’t brown or burn.
Dehydrator: If you have one, this is a simple, foolproof way to dry them. Just follow the manufacturer’s instructions.
4. Crumble into Confetti
Once the petals are fully dried, gently crumble them into smaller pieces. This is where the magic happens—they start looking like tiny fireworks in your hand. These are your official flower sprinkles, ready to turn your baked goods into something special.
Ways to Use Your New DIY Flower Sprinkles
Cupcakes and Cookies: Top them on frosted cupcakes or sugar cookies for a pop of color. It’s a sweet surprise that’ll have your guests wondering how you became a baking superstar overnight.
Smoothie Bowls and Yogurt: Mornings become more cheerful when your breakfast looks like it’s straight out of a café. A light sprinkling over your smoothie bowl or yogurt parfait can do just that.
Cakes for Special Occasions: Birthdays, anniversaries, or simple weekend get-togethers become that much more memorable when your cake is adorned with vibrant edible flower confetti.
Ice Cream Sundaes: A handful of flower sprinkles on your favorite ice cream sundae can make the treat feel downright dreamy.
Crafty Cocktails or Mocktails: Sip pretty! Freeze petals into ice cubes, or float a few sprinkles right on top for a picture-perfect party drink.

Pro Tips to Keep in Mind
Sourcing Flowers: Always ensure you’re using food-grade, pesticide-free flowers. If in doubt, consult a reputable supplier or grocery store produce section.
Color Coordination: Different flowers keep their color in varying ways. For example, pansies and violas often retain bright hues even after drying. Feel free to experiment to find your favorites.
Allergies: Check for allergies (both in yourself and those you’ll be serving) before going all-out with baking with edible flowers.
Storage: Keep your homemade sprinkles in an airtight container. They’ll last a few weeks, possibly longer—though you might use them up before then!
Why This DIY Is So Worth It
There’s something uplifting about working with nature’s own palette. For me, crafting my own flower sprinkles is an invitation to slow down and really appreciate beauty in the small things—like a tiny bloom that can brighten up an entire cake. Plus, it’s an excellent way to bring a piece of the outdoors into your kitchen, no matter the season.
When people see my cookies or cupcakes dotted with these delicate flecks of color, the reaction is often a mix of delight and curiosity. It’s a fantastic conversation starter that leads to questions about which flowers are edible, how you made them, and which flavors pair best.
Best of all, these homemade DIY flower sprinkles are straightforward enough for new crafters but also hold endless possibilities for seasoned creatives. You can mix and match flower varieties, play with sugar coatings, and even incorporate herbs like lavender for a subtle hint of flavor.

List of 20 Edible Flowers
Below is a list of 20 edible flowers you can explore for your culinary and decorative adventures — also, learn how you can add them to. your garden this season here.
Roses – Their petals add a delicate, aromatic flavor to desserts, teas, and salads.
Pansies – Mild and colorful, perfect for decorating cakes and salads.
Violets – Sweet and fragrant, ideal for garnishing and making candied treats.
Nasturtiums – With a peppery zing, their bright blossoms work well in salads and as a garnish.
Calendula (Pot Marigold) – Tangy and vibrant, used in salads, soups, or even infused into oils.
Chamomile – Known for its calming properties, its blossoms are best used in teas and desserts.
Lavender – Fragrant with subtle citrus notes, great in baked goods and infused beverages.
Hibiscus – Tart and vibrant, ideal for teas, syrups, and colorful culinary creations.
Borage – Cucumber-flavored and refreshing, perfect for garnishing salads or cocktails.
Dandelion – Both the flowers and greens are edible; the flowers add a mild, sweet flavor to dishes.
Elderflower – Delicate and aromatic, it’s wonderful in cordials, desserts, and teas.
Squash Blossoms – Savory and tender, these are excellent when stuffed or lightly fried.
Carnations – If organically grown, their petals can be used sparingly in salads for a hint of spice.
Bee Balm (Monarda) – Vibrant and flavorful, ideal for infusing into teas or using as an edible garnish.
Fennel Flowers – Offering a subtle licorice note, they’re best used as a light garnish in salads.
Lilac Blossoms – Fragrant and mildly sweet, they work well in syrups and jellies.
Chrysanthemum Petals – Certain edible varieties add a unique flavor to teas and salads.
Sunflower Petals – With a slightly sweet taste, they provide a delightful crunch in salads.
Orchid Blossoms – Select edible varieties are used for elegant garnishes and in gourmet dishes.
Clover Flowers – Mildly sweet, they’re perfect as a subtle garnish or for a splash of color in tea.
Always ensure that any edible flowers you plan to use are grown organically and are identified as safe for consumption. Enjoy experimenting with these natural beauties in your recipes and creative projects!
Let’s Sprinkle Some Joy
Now that you know how to make flower sprinkles at home, it’s time to roll up your sleeves and dive in. Whether you’re a baking newbie or a seasoned pro, this is a low-stakes, high-fun project that yields both aesthetic and delicious rewards. So, grab those edible flowers, prepare your sugar (if you’re a sweet fanatic like me), and let’s sprinkle some natural beauty onto our treats.
Remember, life is all about the little moments—so make them bright, colorful, and undeniably you. Enjoy your baking journey, and may your kitchen be filled with sweet smells, vibrant colors, and plenty of good vibes.
Happy baking, friends!
This post was all about creating DIY flower sprinkles. It is a fun and easy DIY guide.


Top 10 Family-Friendly Outdoor DIY Projects: Neutral Planting Stations and Garden Beds for Ultimate Summer Fun
Looking for simple, stylish ways to keep the kids engaged this summer? From minimalist planting stations to raised garden beds, these 10 family-friendly outdoor DIY projects are equal parts fun and functional. Designed with neutral aesthetics in mind, each activity invites creativity, teamwork, and a whole lot of sunshine—perfect for making backyard memories that last all season long.
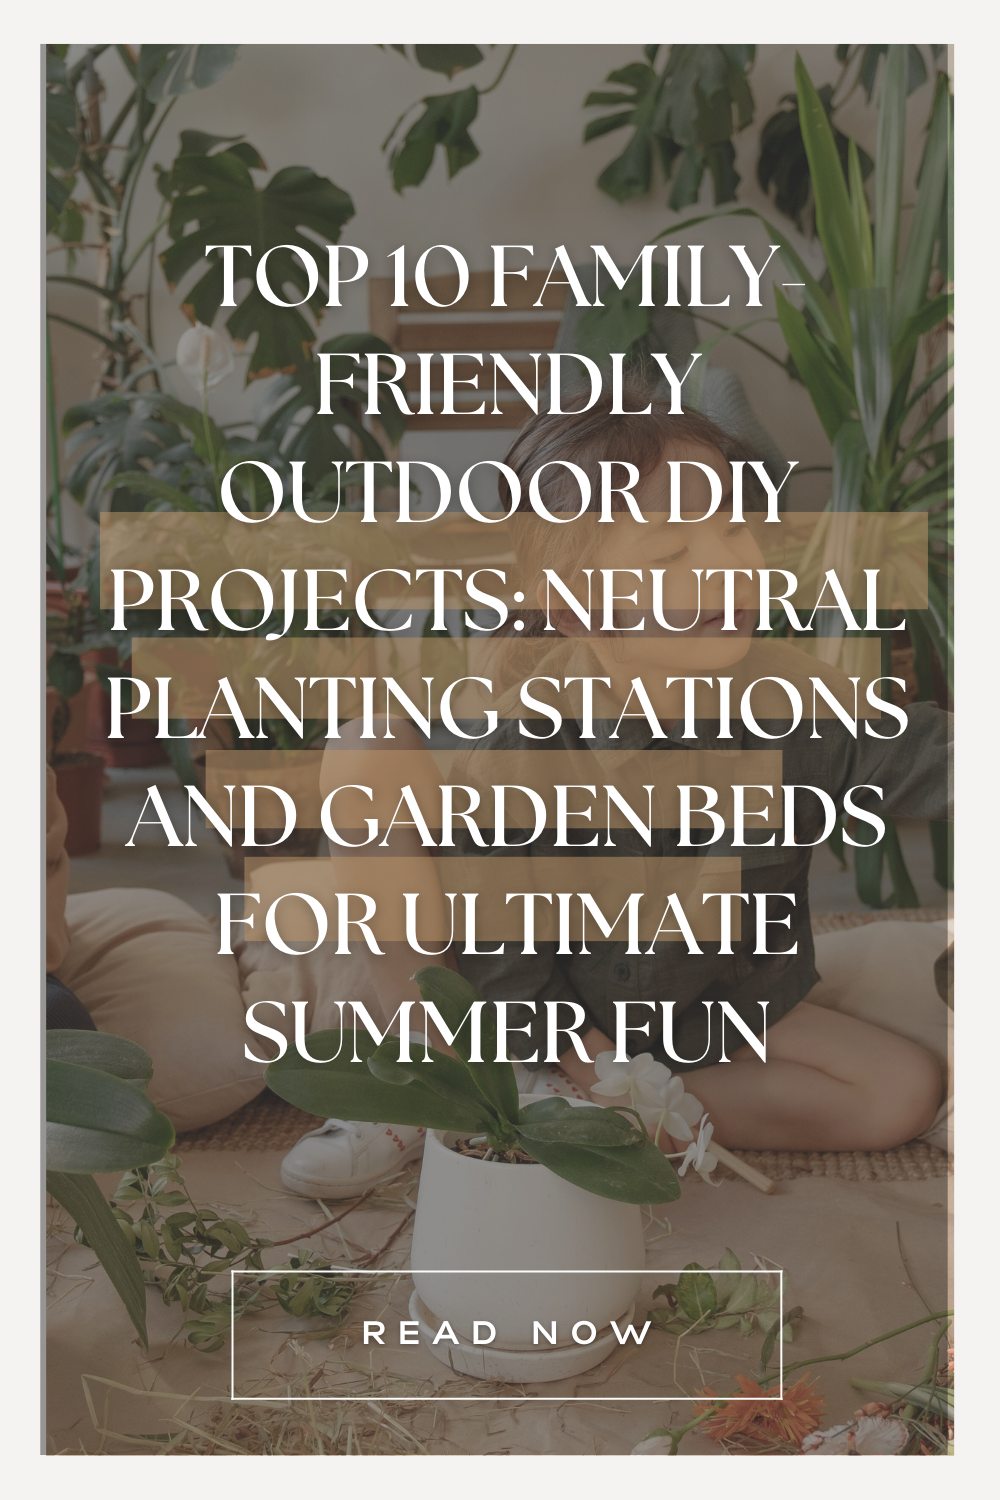
Summer is the perfect season to cultivate creativity in your outdoor space, and what better way to do this than through family-friendly DIY projects? If your style is minimalist, neutral, and effortlessly chic, these DIY planting stations and garden beds will elevate your backyard and keep the kids entertained. Let's dig into these trending Pinterest-inspired projects that are both beautiful and functional!
1. DIY Neutral Potting Bench Station
Create a minimalist gardening nook using reclaimed wood painted in shades of beige, taupe, or soft gray. Include built-in hooks, shelves, and a simple work surface. Shop this charming garden bench here.

Outdoor 3-seat Wood Bench 64 Inches Extra Long Acacia Chair With Seat Cushion — $155.99
2. Raised Garden Beds with Neutral Finishes
Build raised garden beds from untreated pine or cedar wood. Choose neutral, earth-friendly stains for a timeless look. Bonus: Grab this beginner-friendly guide to building raised beds.

Original Cedar Raised Garden Bed, 2' X 10' X 10.5" — $204.78
3. Vertical Pallet Garden in Earth Tones
Repurpose wooden pallets into chic vertical planters painted in neutral hues, ideal for small spaces. Get your pallet garden DIY kit here.

DIY Wooden Vertical Garden Planter Guide - Step-by-Step Written Instructions — $24.99
4. Minimalist Concrete Planters
Use quick-setting concrete molds to make neutral, modern-style planters. Kids love personalizing these. Check out this easy DIY concrete planter mold.

Garden Tower Concrete Mold Set — $150
5. Family-Friendly Herb Garden Station
Create a herb-growing station with wooden planter boxes labeled with neutral, minimalist tags. Download your free printable herb labels here.

Handmade solid walnut, maple, cherry, or mahogany hardwood for self watering planters — $24.50+
6. DIY Succulent Garden Bed
Make a low-maintenance succulent garden bed featuring sandy-colored gravel, rocks, and drought-tolerant plants for a tranquil corner. Succulent starter set.

Cute Farms Terrarium Starter Kit — $29.95
7. Neutral Mud Kitchen Planting Area for Kids
Combine outdoor play with gardening. Build a mud kitchen in soft, earthy shades, complete with planting pots and soil stations. Shop kid-friendly mud kitchen accessories.

Costway Wooden Play Kitchen Set, Outdoor Kid's Mud Kitchen with Faucet & Water Box —
8. Neutral-Colored Painted Tire Planters
Repurpose old tires into vibrant planters, painted in neutral shades for a stylish yet eco-friendly garden project. See the DIY tire planter tutorial.

9. Mini Fairy Garden Beds
Create whimsical mini-gardens using wooden crates or ceramic pots filled with succulents, tiny pebbles, and neutral-colored miniatures. Peep one of your favorite whimsical ceramic pots.

Decorative Stoneware Planter with Birds on Rim and Reactive Glaze — $42.99
10. Neutral Outdoor DIY Plant Labels
Craft chic, minimalist plant markers using painted wooden spoons or popsicle sticks in neutral tones. Download your free printable plant labels.

WANT MORE TIPS LIKE THIS?
Don’t miss out on even more practical food hacks and family meal inspo! Subscribe below and get weekly tips, recipes, and real-life encouragement delivered straight to your inbox—because busy families deserve simple, stress-free mealtimes that work.

Unleash the Potential of Your Small Outdoor Space with These Garden Makeover Ideas
It all begins with an idea.
Are you tired of looking at your small outdoor space and feeling like it's lacking something special? Well, it's time to turn that neglected corner into a garden oasis with these transformative makeover ideas. From maximizing your space to creating a cozy seating area, choosing the right plants, and diving into some fun DIY projects, you'll learn everything you need to know to unleash the full potential of your tiny backyard. Get ready to be inspired and start on the journey to creating the garden retreat of your dreams.
Maximizing Space: Tips for optimizing every inch of your small outdoor area
When it comes to maximizing the space in your small outdoor area, every inch counts. One tip for optimizing your space is to use vertical gardening techniques, such as hanging planters or trellises, to take advantage of height and create more planting opportunities. Additionally, utilizing multi-functional furniture that can serve as storage as well as seating can help you make the most of your limited square footage. Don't forget to consider the layout of your space carefully, ensuring that every corner is utilized effectively - whether it's for planting, seating, or entertaining. By strategically planning and organizing your small outdoor area, you can make it feel larger and more functional.

Transitioning into creating a cozy seating area, let's dive into how you can design a comfortable and inviting space for relaxing and enjoying your garden oasis.
Creating a Cozy Seating Area: How to design a comfortable and inviting space
Transitioning into creating a cozy seating area, let's dive into how you can design a comfortable and inviting space for relaxing and enjoying your garden oasis. When it comes to choosing the right plants for your seating area, selecting vibrant flowers and greenery can enhance the overall aesthetic and create a peaceful atmosphere for you to unwind in.

Choosing the Right Plants: Selecting vibrant flowers and greenery for your garden
Transitioning into selecting vibrant flowers and greenery for your garden, you can elevate the visual appeal of your outdoor space and create a serene environment to relax in. When choosing plants, consider a mix of colors, textures, and heights to add depth and interest to your garden. Opt for low-maintenance options like succulents or native plants that can thrive in your particular growing conditions. By carefully curating your plant selection, you can create a beautiful atmosphere that complements your seating area and enhances the overall ambiance of your garden.
This attention to detail in choosing the right plants can truly transform your small outdoor space into a lush and vibrant haven. Next, we'll explore some easy and budget-friendly DIY projects to further enhance your garden oasis.

DIY Projects: Easy and budget-friendly ideas to enhance your outdoor space
In addition to carefully selecting the perfect plants for your garden, there are plenty of DIY projects that can help elevate your outdoor space without breaking the bank. Consider adding simple touches like hanging string lights or creating a cozy seating area with DIY pallet furniture. You could also repurpose old containers into charming planters or build a vertical garden to maximize your space.
Another budget-friendly idea is to create a DIY herb garden that not only adds a pop of freshness to your outdoor space but also provides you with a convenient source of herbs for cooking. Additionally, incorporating a water feature, such as a small fountain or pond, can add a relaxing element to your garden oasis.
By incorporating these easy and cost-effective DIY projects into your small outdoor space, you can take your garden makeover to the next level and create a truly inviting and personalized retreat that you'll love spending time in.

In conclusion, transforming your small outdoor space into a lush garden oasis is completely achievable with the right strategies in place. By maximizing space, creating a cozy seating area, choosing the right plants, and incorporating DIY projects, you can elevate your outdoor area into a tranquil paradise. Remember, it's all about making the most of what you have and infusing your personal style into every detail. So why wait? Start implementing these garden makeover ideas today and watch as your tiny backyard blossoms into the garden of your dreams. As Audrey Hepburn once said, "To plant a garden is to believe in tomorrow."